Thursday, November 17, 2016

Cashew cheese


There are hundreds of recipes of cashew cheese to be found these days. This is the version I make almost weekly in large batches to be used in various culinary creations during the week. It's easy, simple, neutral and it fits well in a lot of dishes. 

Here are a few examples of where I use this “cheese”:


panini, pure or with fresh basil, tomato and arugula
pizza, calzone, and lasagna
as topping for filled vegetables: paprika, courgette, aubergine, or champignons
filled empanadas or various pastries
risottos
with stir-fried veggies
soups - added at the end 
pasta, gnocchi
quiche

Even though the amounts of each ingredient vary every time I make it, here is a recipe that gives you an idea of which amounts more or less to use.

Ingredients:

1 cup cashews 
2 cups water
2 tbsp tapioca starch, dissolved in 3 tbsp water
1/3 cup nutritional yeast (Beware! Some brands are quite bitter and do not add that special cheesy taste, so make sure to get the best brand you can find)
1 tbsp sea salt (less if you prefer or if using a different type of salt)
2-3 tsp citric/lactic acid (or apple vinegar or lemon juice if you don’t have citric or lactic acid at hand)

optional: replace some of the water by 1/2 cup coconut milk (it adds a nice creaminess and it takes the cheese taste to an entirely new level)

People with nut allergies can use coconut milk to replace cashews in this recipe. Use 2 cups of milk instead of 1 cup cashews + 2 cups water. Feel free to adapt the amounts of tapioca starch depending on the consistency required for a certain recipe.  

If you want a sliceable or shreddable cheese, add 6 g agar agar or 14g kappa carrageenan 

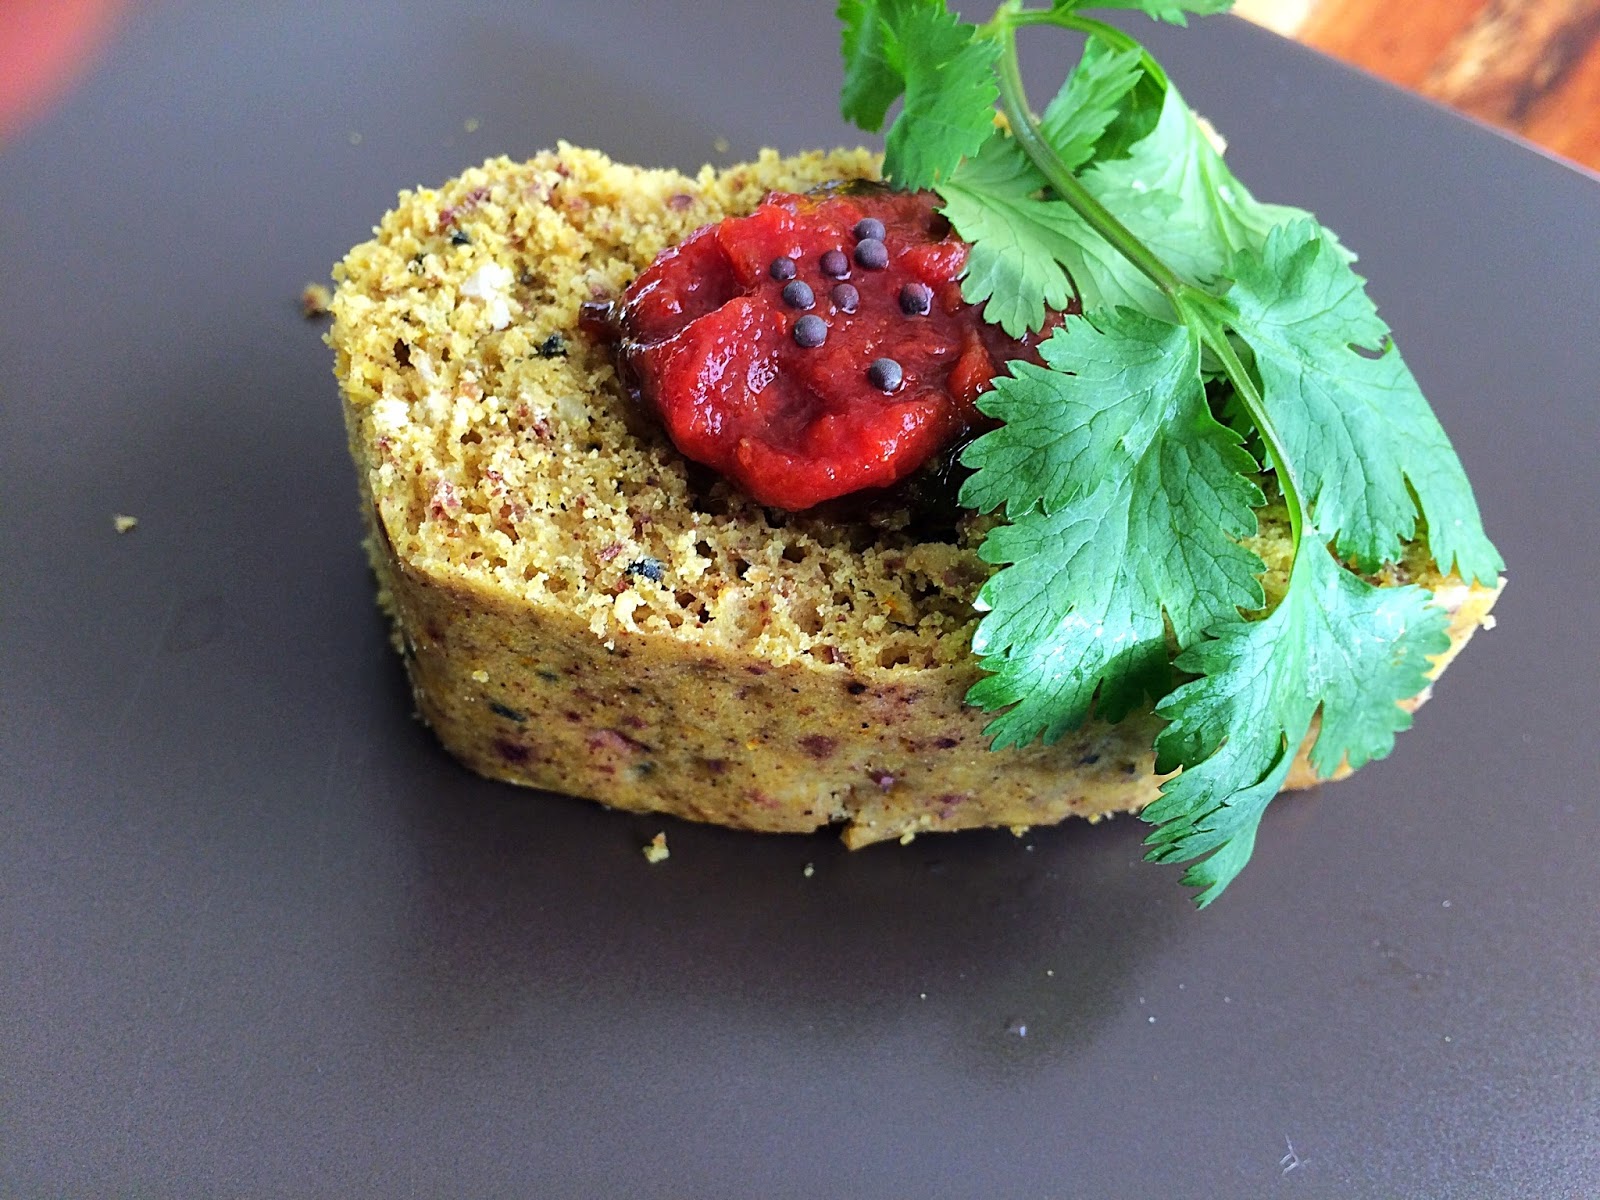
Version with miso, sundried tomatoes, smoked paprika and agar


Method:

Soak the cashews in some of the water for at least 4 hours. 

Blend it well in a high speed blender, food processor or any device that can turn it into a smooth cream. 

Bring all ingredients to a saucepan and cook it over medium-low heat while stirring regularly (I do it with a whisker). When it starts boiling, reduce heat and keep stirring for further 3-5 minutes. 


baked champignons with cashew cheese and thyme


Pour it into a mould (in case of making the cheese harder with agar or carrageenan) or into a container that can be closed (after cooling) with an airtight lid. Keep the cheese in the fridge for up to a week (or longer, depending on how it's been handled).

If you want to make a hard cheese and doubt whether to use agar or carrageenan, here is a blogpost that might help you. 

Bottom line: Carrageenan produces a better texture than agar and it melts when heated - agar doesn’t. Carrageenan is a controversial product (health concerns).  

If you have no problems with extra calories and wish for an extra greasy, extra meltable cheese, then perhaps the following recipe could make you happier. ;-) 


Sunday, November 13, 2016

Arame-cabbage rolls


Ingredients:

10g dried arame, soaked in water (15 minutes)
100g (finely shredded) white cabbage
1 tsp caraway seeds
1 teaspoon freshly grated ginger
2 tbsp balsamic vinegar
2 tbsp tamari (soy sauce)
2 tbsp oat flakes (fine)
salt to taste
Optional: 1 tbsp pomegranate syrup (available in Turkish shops)
Puff pastry or filo dough 


Method: 
Add a little olive oil to a frying pan and stir fry the white cabbage with caraway seeds, stirring occasionally,
until it gets a little golden-brown (7-10 min). Add the grated ginger and stir it further for 1 minute. If the cabbage tends to burn too quickly before cooking, add a little bit of water and immediately cover with a lid. Remove from the heat when ready. Drain the arame and add it to the cabbage.


Add the oats, soy sauce, salt (if needed), balsamic and pomegranate syrup (if you choose to use it). Mix well. Use this mixture a filling for fillo dough or puff pastry. Bake the rolls in preheated 200°C oven for 12-20 minutes (it really depends on the oven you are using) or until lightly golden-brown. 

Serve with cranberry sauce or some citrus-sweet sauce (see recipe for blood-orange-pomegranate sauce)


Saturday, November 5, 2016

Khaman Dhokla with chestnuts


Ingredients:

300g chestnuts, steamed and peeled
500g chickpea flour (a.k.a. besan)
1 ts asafetida
1 tbsp ground coriander
1 tbsp nigella seeds
1 ts ground (or freshly grated) ginger
1 ts ground cumin seeds 
1 1/2 ts caraway seeds
1 ts turmeric powder
zest of one lime
1 tbsp sea salt 
20g baking powder
550ml water (the dough should be like a cake dough so add more or less water if needed)
coconut oil (for greasing the baking pan)


Method:

Grind the chestnuts in a food processor until powdered. 

Place the chickpea flour in a mixing bowl and whisk to remove any lumps. Add all ground spices, the salt, lime zest, baking powder and whisk further until all dry ingredients are well combined. Add in the water and stir gently with the whisker until smooth.

Grease a baking tray pan with the coconut oil and pour the dough on it.  Steam it for about 35 minutes at 100°C in a steam-oven, or on medium-low heat if you are using a steamer on the stove. The cake should be fairly firm and a knife inserted in the center should come out clean when done.
Turn off the heat and let the cake rest for 15 minutes.  Invert the cake onto a plate.
Serve it with tomato chutney, or mint-yoghurt sauce.
Cut into squares and serve. 

Note: I used chestnuts since they are abundant at this time of the year where I live. The classic recipe is made entirely with chickpea flour and/or with fermented lentils (flour). 


Thursday, November 3, 2016

Blackthorn flan


Ingredients:

500g blackthorn compote (you can use raspberry, black currants or other berries you can find)
125 g (muscovado) sugar - or any other sweetener to taste
300ml almond milk (or rice / oat milk)
300 ml coconut milk
10 g agar agar powder (or follow instructions on the package, as each brand seems to have a specific amount needed to make jelly of a certain amount of liquid)
1 tablespoon arrowroot


Method:

Dissolve the arrowroot with a little plant milk into a glass. Set it aside.

In a saucepan bring the milk, blackthorn, sugar and agar agar together. Bring it to a boil over on medium-high heat, stirring occasionally. When it reaches the boiling point, reduce the heat.
Add the dissolved arrowroot with milk. Stir and let it simmer for 2-3 minutes.

Turn the heat off. Pour into glasses or flan moulds. You can also use this to make it into a "bavaroise" pie. In that case, use a little bit extra agar (like 2g extra, but it depends on which brand you use) in the recipe. After cooking it, pour it into a spring form covered with a dough made of cookies and coconut oil. It's a simple and quick dessert that can impress people and it does not require major pastry skills. 

Let the flan in the refrigerator for at least 4-8 hours to harden. 

Optional: Serve with extra blackthorn coulis and fresh mint.


Wednesday, November 2, 2016

Pumpkin-orange layered pie


Ingredients:


1 small sweet organic pumpkin (Hokaido) 
sweetener (I use sucanat / mascobado sugar)
coconut milk
zest of 2 organic oranges or enough to give a good citrus flavor (some oranges have thicker skin than others)
grated coconut (for garnish - optional)
speculoos / biscoff biscuits (a typical Belgium spiced cookies - you can use other flat spiced cookie)

Hokaido is the ideal pumpkin for this recipe

Method:

Brush the pumpkin thoroughly under water and rinse it well to remove dirt. Cut it into pieces and remove the seeds. You do not need to peel the pumpkin (unless it isn’t organic or if you are unsure about where they were grown). The skin of the Hokaido pumpkin becomes as soft as the inner pulp after cooking. Cook the pumpkin pieces in as little water as possible, over medium low heat (with lid on) until they are just tender but not too overcooked that they begin to melt. Remove the pumpkin chunks out of the water and using a handheld immersion mixer blend it with coconut milk (just enough milk to make a thick puree, and preferably with the thickest part of the coconut milk if you have that option), grated orange zest and mascobado sugar (or other sweetener to taste). Bring the pumpkin puree back to the fire and cook further for 2-3 minutes.


For the orange zest I use a microplane grater that makes sure only the dark orange layer is finely grated, and not the white inner layer (which might add a bitter taste to the recipe). 

using a microplane to remove the zest of citric fruits - I can't imagine cooking without one ;-)


Cover the bottom of a glass tray with a thin layer of the pumpkin cream. Spread it evenly. Cover it with a layer of speculoos biscuits, add another layer of pumpkin, biscuits… make as many layers as your ingredients and/or tray allow but make sure to end with a layer of pumpkin cream.

Garnish it with whipped coconut cream, aquafaba fluff, chocolate ganache or blueberry powder - as I used i the batch I made for the picture above. You can also leave it as it is. 

Place the tray in the fridge and allow it to cool, for at least a few hours. Serve cold. This pie gets even the next day.


Tuesday, November 1, 2016

Sweet chestnut and cardamom truffles


Ingredients:

500g sweet chestnuts - steamed and peeled
1 t.s. ground cardamom
1/2 t.s. vanilla powder
200g mascobado sugar (or coconut sugar, or stevia or dried dates, pureed)
200g dark chocolate


Method:

Place the chestnuts in a food processor and grind them into a more or less fine powder (I leave tiny pieces that add a more chewy texture, but you can determine how fine you want your powder). 

Add the spices and the sugar to the chestnut powder. Stir it well until all ingredients are evenly distributed. 

Form balls with the mixture.

Place the chocolate in a double boiler - a.k.a. bain-marie - and melt it.

Cover the balls with the chocolate and place the balls on a tray covered with parchment paper. 
Place the balls in the fridge. 


This is what you get if you combine all ingredients together instead of covering the balls with the chocolate


If you want to make these balls look way better than what you see on the pictures above, it would be a good idea to let them chill for a few hours in the fridge before covering them with the melted chocolate. I just couldn’t wait. ;-) 


Store the balls in the fridge for up to 4 days. It could be that it keeps well for a longer period of time but I wouldn’t risk making too large of a batch, as freshly cooked chestnuts can easily ferment.

So what I actually did when trying out this recipe was to use only 2/3 of the sweetened and spiced chestnut powder to roll the balls and cover in chocolate. I added the other 1/3 of the chestnut mixture to the remaining chocolate that was left in the melting bowl. There is always a lot of chocolate left when we use it melted like that. By combining the rest of the mixture with the chocolate, I managed to use all the ingredients in a more efficient manner. So after bringing it all together, I put it in the fridge, allowed it to cool enough to the point that I could roll more balls with it. The resulting balls were also delicious. I also kept them in an air-tight container in the fridge.